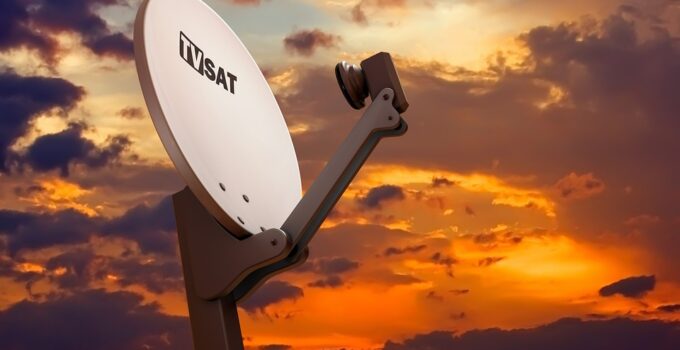
You’ve bought a satellite dish and now you’re struggling to tune it so you can finally enjoy watching TV? We will explain how to mount it and how to adjust it so you have the best signal possible.
Page Contents
Mounting
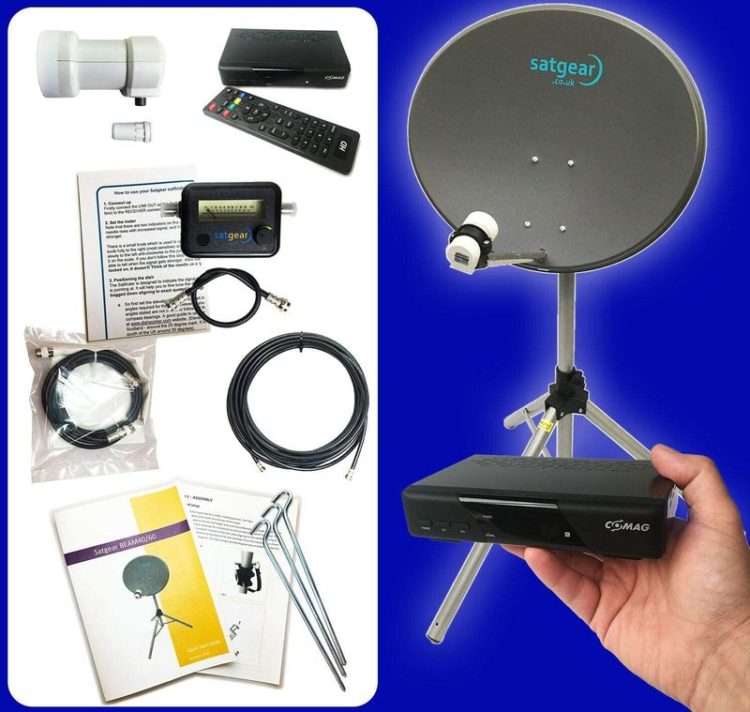
source:amazon.com
Prior to installation, you must prepare all materials and accessories and a satellite kit that must include: satellite dish, receiver, LNB, the coaxial cable of appropriate length, 2 F connectors to connect the cable to the LNB and receiver, and the antenna mount wall or floor and the necessary plastic parts.
Tools require a drill, drill bit, spirit level, pencil, wrenches and TV. Mounting in cloudy and gloomy weather is recommended because if you can then get a good and clean signal from the satellite, you can be sure that it will always be good regardless of the weather.
First, you need to determine where you want to mount the antenna, taking into account that the mounting location must have a clear view of the east-west direction, that is, the south side, and that it is easily accessible for mounting. Once you have determined the mounting position, you will take the wall bracket and lean it against the wall and use the spirit level to bring it to the correct horizontal or vertical position.
For this action, it may be advisable for someone to help you hold the mount while you are measuring. Then mark, preferably with a red felt-tip pen, the places where the holes will come (three or four holes depending on the mount). Then move the bracket and drill holes; the size should be slightly smaller than the size of the plastic tulle.
When you have drilled holes, attach the bracket to the wall for the first time, making it easier to secure it first, and when necessary (moving, moving the antenna, etc.), you can easily remove the bracket.
You should follow the instructions and blueprints that usually go with the antenna.
Adjustment
source:pxfuel.com
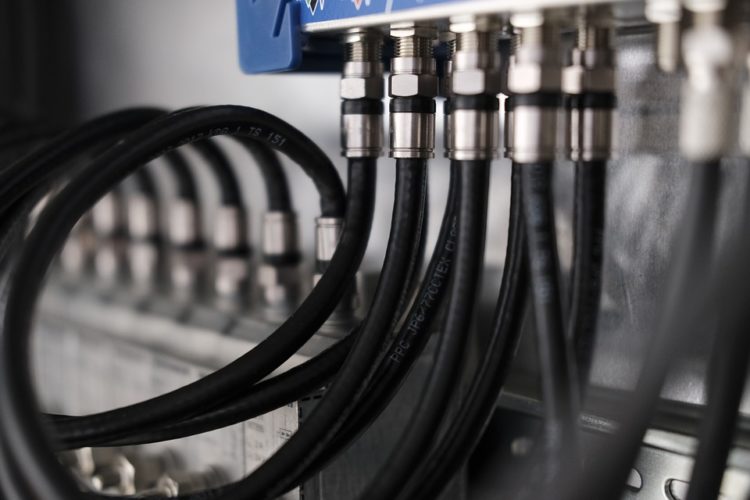
All current receivers have a signal level indicator to help direct the antenna. It can either be called separately by a specific button or appears when selecting a satellite in the receiver installation menu. This shows signal strength and quality for direct and easy satellite antenna guidance without the need for instruments. With an analog receiver, you need to place the program on an already stored program and then control the image quality on the TV screen.
When this is set, slowly rotate the antenna from left to right and monitor the signal on the screen. When you get the strongest signal or the highest quality image (analog receiver), you can attach the antenna.
If it is a satellite that is close to the one you are looking for, it means that you only have to move the antenna a bit until you see it on your TV. If the signal or image quality is not yet sufficient, try moving the antenna up (elevation) until you get the quality you want.
When you have brought the cable to your TV and satellite, connect the TV and the receiver with scart, and another scart to the video from the receiver, and then connect the coaxial cable to the satellite receiver (everything must be unplugged). Turn on your satellite receiver and TV and search for the right satellite. The signal quality will be displayed when searching the program for each transponder separately. With an analog receiver, you should get all the programs on the screen immediately without any special tuning.
If you don’t get the signal you want after this, we’ll give you tips on how to further improve it or if you can’t do everything yourself, professionals from your area, such as the TV aerial installation Stoke-on-Trent, can always help you. This website will give you a more detailed explanation of how they can help you.
Find out where the central antenna is located in your area
source:pxfuel.com
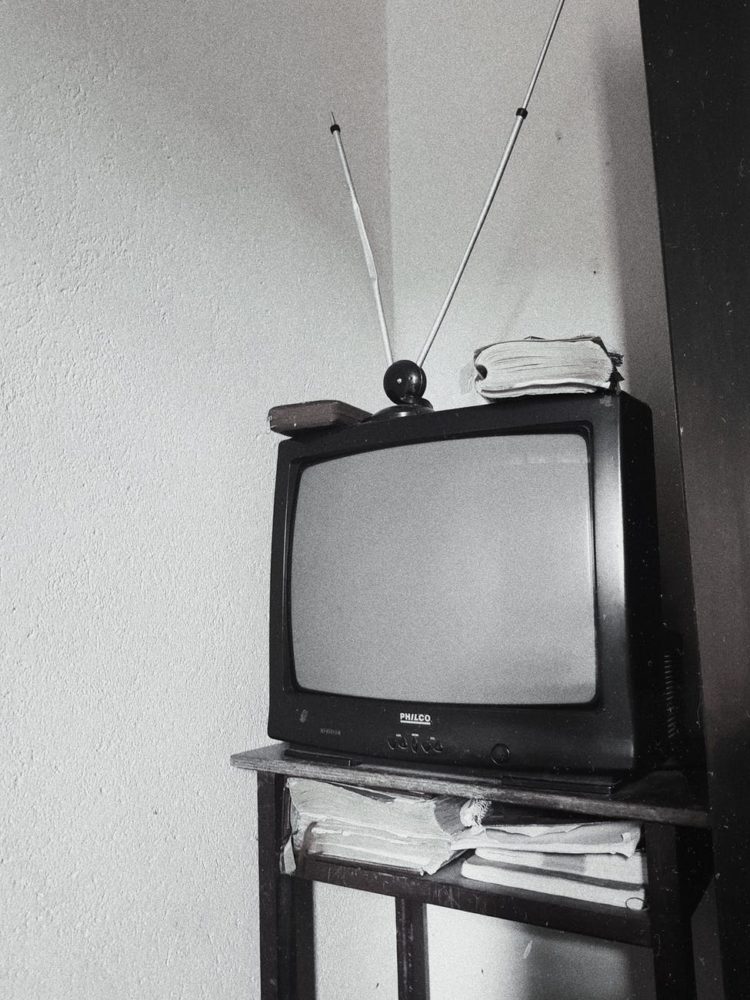
First, go online or inquire where the central tower is in your area. When you turn your antenna towards the tower, you will immediately get a better picture. Of course, distance is also important. Maybe you should know this before you buy. Because the distance will dictate the choice of the signal range that the antenna catches. So, do that research and then go on to the next steps.
Check the condition of the equipment
Of course, this step is not necessary if you have just bought one. But if you have been a user for a long time, then, by all means, eat. There can be various problems. For example, the cable may be damaged, and moisture will enter. Or he just doesn’t do his job the right way because of the damage. Then check for no rust or dirt. Check all screws to make sure they are secured properly. It is necessary to keep everything in top condition because without that, no tuning and searching for signals will help. The hardware must be correct. So as soon as you notice any damage, replace it immediately.
Is everything waterproof?
It is very important that all the outer parts are waterproof. First of all cables. Even if not everything is waterproof, there are ways to do it yourself. Use silicone or other specialized products. Also, extra layers of rubber can help. There are also adhesive tapes for these purposes.
Obstructions
source:pixabay.com
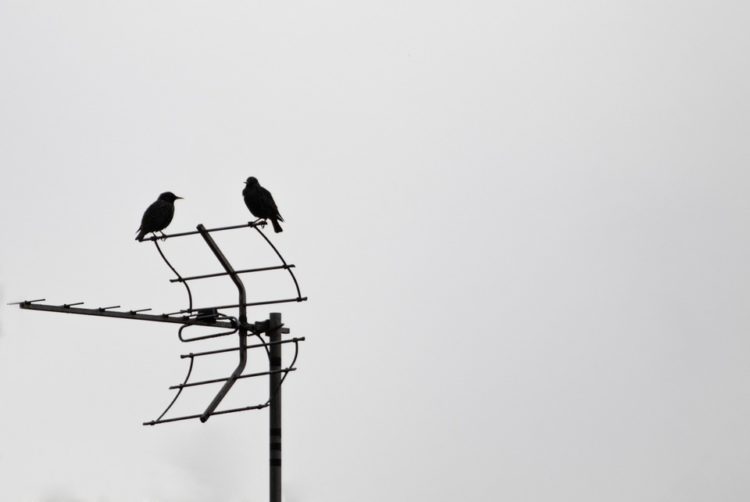
There may be different modes of interference. First of all physical and electromagnetic. Physically they are very simple. These can be buildings, trees, a neighboring house, a hill, a mountain, etc. What is positive is that if the signal is strong enough, you will be able to catch it despite these obstacles. They are unable to interfere completely. The problem can also be if you have a metal roof that reflects signals incorrectly and interferes with the antenna.
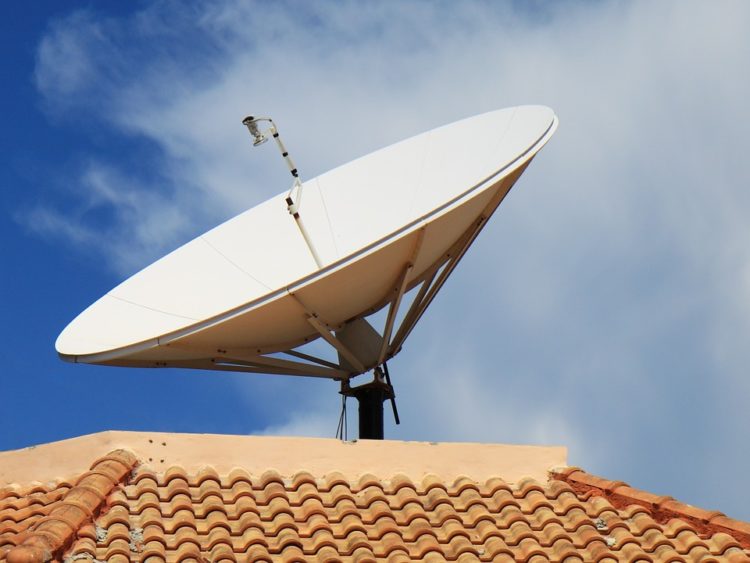
And now, electromagnetic. Cell phone towers are one of the main culprits. They work at a similar frequency and regularly cause problems. Either the signal disappears, or the image is not of good quality and pixelation occurs. This can be assisted by certain signal filters, which will reduce interference.
source:pixabay.com
Conclusion:
We have made every effort to explain this process to you from the beginning. How to safely mount and then how to bring everything to the maximum level. By following the tips, you will be able to successfully complete this work. If you living in a rural area, look for the best outdoor TV antenna and visit this site.

