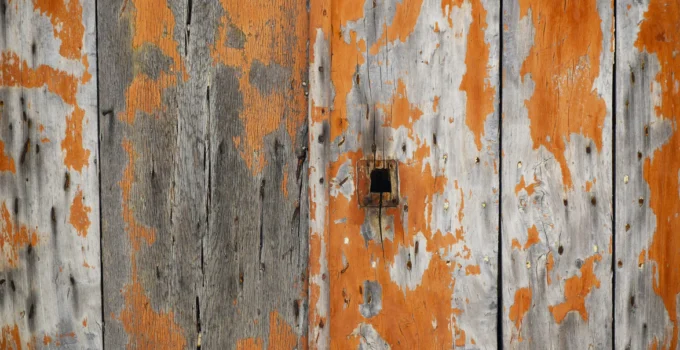
One option when refinishing wood is to strip the old finish off. With varnished wood, you can skip this step and get straight to painting. In this article, we’ll cover how to paint varnished wood using sandpaper to roughen the finish, as well as an alternative method that requires no sanding at all. We’ll also cover some common varnish dos and don’ts.
Painting Varnished Wood
The experts at SawsHub share that painting varnished wood is easy when you prepare the wood properly and choose the right supplies. Follow these 10 steps to properly paint varnished wood.
1. Prepare your workspace. Choose a well-ventilated space, adding fans or dehumidifiers as necessary for climate and circulation control. The fumes coming from chemicals such as paint thinners can cause oxidative stress when inhaled, which can lead to neurological damage. A properly fitting respirator-type mask protects your airways and your brain from fume inhalation.
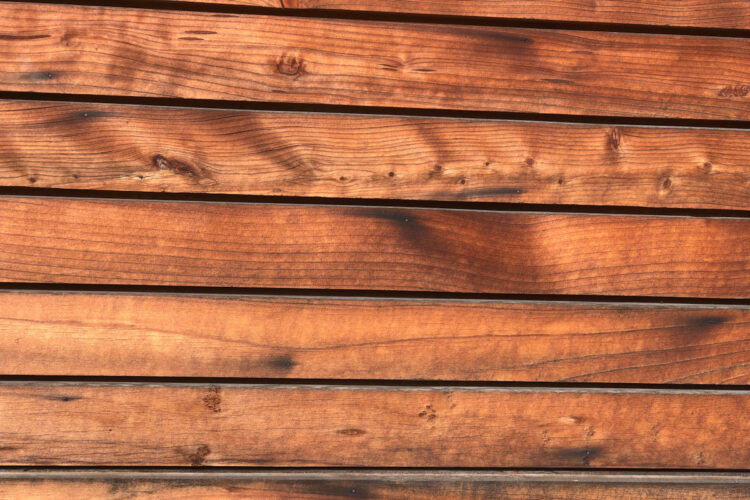
2. Evaluate the potential of ‘tannin bleed’. Tannins are chemicals naturally found in woodsap. As wood ages, it dries, and the tannins work their way out of the wood as moisture evaporates. This leads to a frustrating bleed-through effect, where knotty areas of wood can become visible even through several coats of paint and primer. Worst of all, the process happens slowly over several years. If the varnish is in good condition, it should trap escaping tannins, and you don’t need to worry about tannin bleed. If it’s cracked, scratched, peeling, you’ll need to seal it before painting.
Source: painttalk.com
3. Select an appropriate primer. It is essential to use primer before painting any kind of wood, varnished wood included. The main options for primer when you’re painting varnished wood are acrylic, latex or oil. Latex and acrylic perform similarly. They will both cover some stains, but will not prevent tannins from emerging from the wood. Only oil-based primer will act as a sealant, locking in tannins and stains. Oil-based primer is smelly, expensive, and has a minimum eight hour dry time between coats. If you’re worried about tannin bleed, you should choose it anyway.
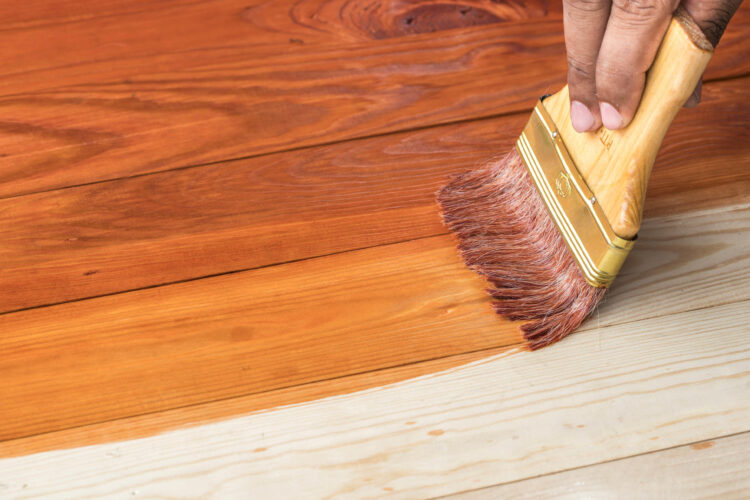
4. Select an appropriate paint. Oil paint has a shiny, durable finish, and stands up well to wear and tear, making it a popular choice for high-traffic areas such as kitchen cabinets. Oil-based paint can be applied over both oil and latex primers. Water-based paints are fast-drying and flexible, but cannot be applied over oil primer. If you want to use water-based paint, you must choose latex or acrylic primer.
Source: allfinishes.co.uk
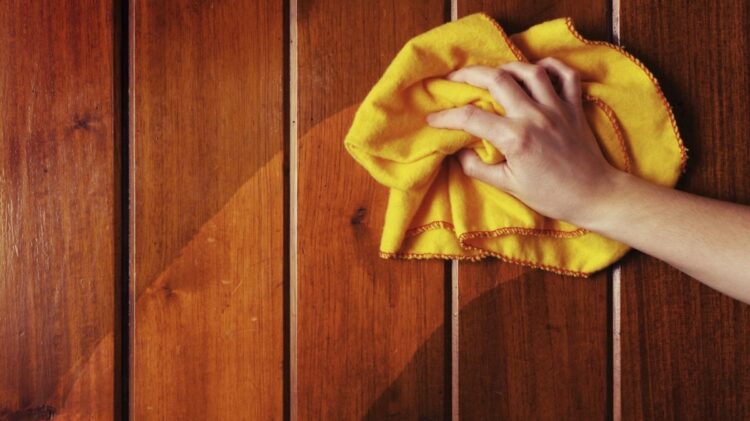
5. Clean the wood. An appropriate primer will be able to bond with the varnish, creating a paintable surface. Dirt, dust, oil and grease can all prevent primer from bonding, so it is important to prepare the surface before you prime. Using a household cleaner and a lint-free cloth, spray the surface of the wood and wipe in a circular motion. Allow the surface to dry.
6. Repair imperfections. Wood can be scraped, scratched, dented, dinged, or chipped through normal, everyday use, even when protected with varnish. To ensure these defects don’t show through after you’ve painted, repair them with wood putty. Use firm, consistent pressure to scrape a dollop of the creamy paste into any depression in the wood. Use a scraper that is wider than the largest defect to scrape off excess putty. Allow 30 to 90 minutes of dry time, in line with the manufacturer’s instructions.
Source: durian.in
7. Etch and even the surface of the wood. Using sandpaper between 110 and 220 grit, lightly sand the top layer of varnish. This evens out any dips or lumps in the varnish, and provides a grippable surface for the primer to bond with. Wear a dust mask to avoid inhaling particulates. Use a tack cloth to remove dust after sanding. Wipe the surface of the wood with a damp cloth, and allow it to dry.
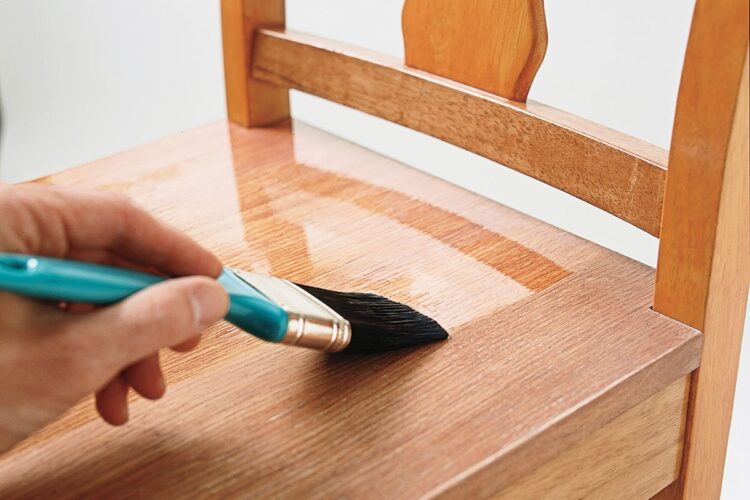
8. Apply the bond coats. Two coats of an appropriate primer should form a sufficiently grippable surface for the paint molecules to bond with. Use a paint roller for large, flat surfaces. A smaller roller may be appropriate for smaller areas such as table tops. Use a one or two inch brush to spread primer into corners and crevices. Wait until the primer is dry and not tacky to the touch before adding a second coat. When the second coat is dry, you are ready to paint.
Source: thisoldhouse.com
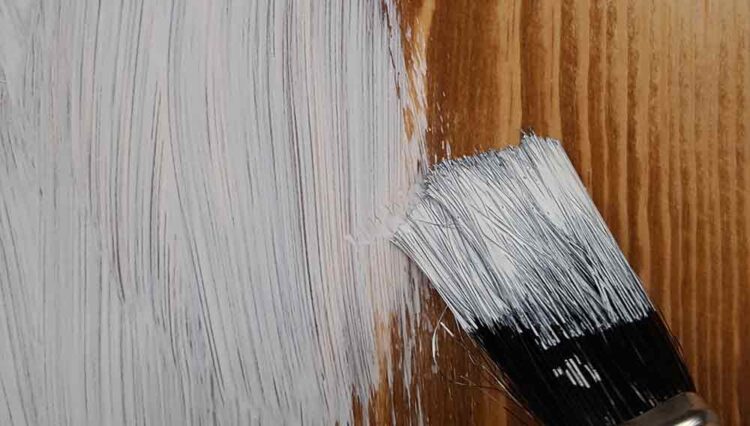
9. Apply the paint. If you’re using multiple cans of paint, mix them together in a larger, clean bucket to ensure color consistency. Using a roller or brush, transfer the paint to the varnished wood. If the paint is applied too thickly, it won’t properly dry. Humidity can also affect paint dry time, so plan this project for a dry day or use a dehumidifier in your workspace. Allow the paint to dry completely, checking in several spots with your fingertips. The paint should not feel tacky or sticky at all. Plan on at least two coats of paint. For the best coverage, three or four coats may be necessary.
10. Apply a top coat, if desired. If you like the look of your workpiece, you can stop here. But if you want to protect that new coat of paint, consider adding a topcoat or sealant. Polyurethane is highly damage-resistant, hard, and durable. It has a plastic-like sheen that isn’t appropriate for every project. Varnishing over the paint is another option.
Prepare Varnished Wood for Paint – No Sanding Required
Source: diydoctor.org.uk
With a small workpiece, sanding is a quick and easy process. It shouldn’t take you more than a few minutes to rough up the surface of the varnish using sand paper, preparing it to bond with primer.
When you want to paint a large amount of varnished wood, the prospect of sanding it all can be daunting. You need another solution.
Often called ‘liquid sandpaper’ a chemical formulation known as deglosser will provide a rough, grippable surface with no sanding required. Deglossers are also great for carved or detailed wood, and can be used instead of sandpaper to preserve crisp details.
Remove or tape over any hardware. Take doors off and drawers out, removing the hinges. Clean the wood first to remove any oil or grease that may block absorption of the liquid deglosser. Use a clean rag to rub deglosser onto the surface of the wood. A brush can be used to get into tight corners.
The chemical reaction that dulls the surface of the varnish takes a bit of time to work. The manufacturer’s instructions will tell you how long to wait. When the waiting period has expired, use another rag to wipe away the deglosser. Allow the wood to dry.
After deglossing, the varnished wood should have a uniform, dull appearance, and is now ready to accept primer. Although deglosser is great for eliminating the labor of sanding, it does have limitations. Liquid sandpaper will not redistribute lumpy varnish or even out imperfections.
Conclusion
You can easily paint over varnished wood using the instructions in this article. A clean, etched wood surface will easily accept primer and paint. Use oil-based primers and paints to seal the varnished wood and prevent tannin bleed. Acrylic or latex primers and water-based paint can be used to speed dry time when tannin bleed is not a concern.

