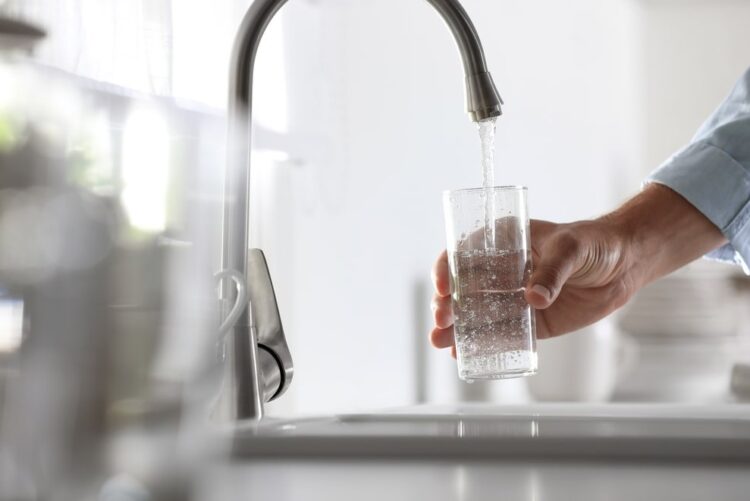
Installing a water softener in your home can bring a multitude of benefits, from preventing scale buildup to enjoying softer skin and cleaner clothes. However, proper preparation is crucial to ensure a smooth and successful installation process.
In this guide, we’ll walk you through the steps to prepare to install a water softener, so you can enjoy the advantages of softened water with ease.
Page Contents
Step 1 ─ Assess Your Water Needs
Before purchasing a water softener, it’s essential to assess your household’s water usage and specific needs. Consider factors such as the size of your home, the number of occupants, and the hardness of your water. This information will help you determine the appropriate capacity and type of water softener for your requirements.
Step 2 ─ Choose a Suitable Location
Selecting the right location for your water softener is crucial for optimal performance and convenience. Ideally, choose a spot near the main water supply line where the softener can be easily accessed for maintenance. Ensure there is sufficient space for installation and enough clearance for plumbing connections and electrical outlets if needed.

Step 3 ─ Gather Necessary Tools and Materials
Before starting to install a water softener, gather all the necessary tools and materials you’ll need. This may include pipe cutters, adjustable wrenches, tubing, fittings, and Teflon tape. Having everything on hand will streamline the installation and prevent delays.
Step 4 ─ Shut Off Water Supply
Before installing a water softener, it’s essential to shut off the main water supply to your home. Locate the main shut-off valve and turn it off to prevent water from flowing while you work. It’s also a good idea to open a few faucets to drain any remaining water from the pipes.
Step 5 ─ Prepare Plumbing Connections
Next, prepare the plumbing connections for the water softener. This may involve cutting into the existing water supply line and installing bypass valves to allow water to bypass the softener when necessary. Follow the manufacturer’s instructions carefully and ensure all connections are secure to prevent leaks.

Source: thespruce.com
Step 6 ─ Electrical Considerations
If your water softener requires electricity to operate, ensure there is a nearby electrical outlet available for connection. Follow all safety guidelines and local electrical codes when installing electrical components.
Step 7 ─ Plan for Drainage
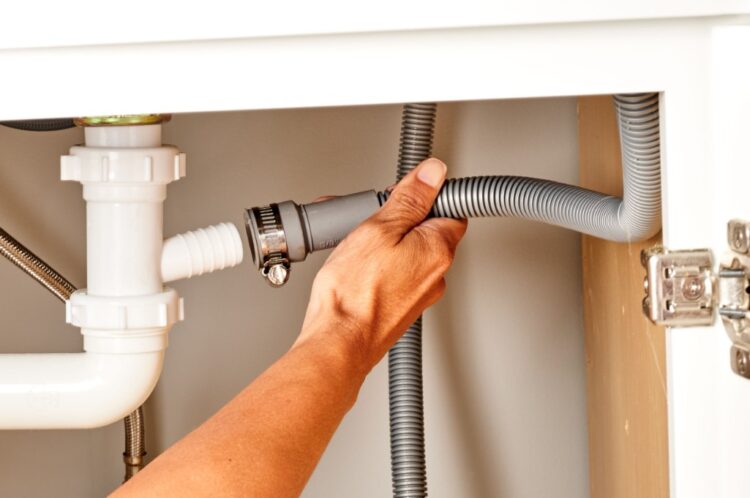
Water softeners require a drain line to remove excess brine and regenerate the resin beads. Plan for proper drainage by connecting the softener’s drain line to a suitable drain or utility sink. Ensure the drain line is positioned to allow for proper flow and drainage.
Step 8 ─ Read the Installation Manual
Before proceeding with the installation, carefully read the manufacturer’s installation manual provided with your water softener. Pay close attention to any specific instructions or requirements to ensure proper installation and operation.

Source: aquatiere.co.uk
Step 9 ─ Consider Professional Installation
While installing a water softener can be a DIY project for those with plumbing experience, it may be advisable to enlist the help of a professional plumber, especially if you’re not familiar with plumbing or electrical work. A qualified plumber can ensure the installation is done correctly and safely.
Step 10 ─ Perform a Final Check
Once the installation is complete, perform a final check to ensure everything is properly connected and secured. Turn the water supply back on and check for any leaks or issues. Follow the manufacturer’s instructions for programming and setting up your water softener, and enjoy the benefits of softened water in your home.
By following these steps to prepare for installing a water softener, you can ensure a smooth and successful installation process, allowing you to enjoy the benefits of softened water with confidence.


