Acrylic is a versatile and popular material for a wide range of applications, from crafting to industrial use. Its durability, clarity, and ease of customization make it a favorite among designers, makers, and artists. However, working with it can also be challenging, particularly when it comes to achieving clean cuts and precise engraving. In this guide, we will explore some tips and techniques for achieving perfectly clean cuts and engraving on acrylic.
Page Contents
1. Choose the right tool

Source: istockphoto.com
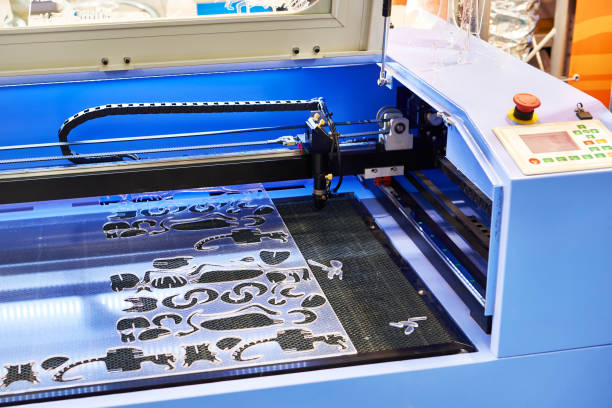
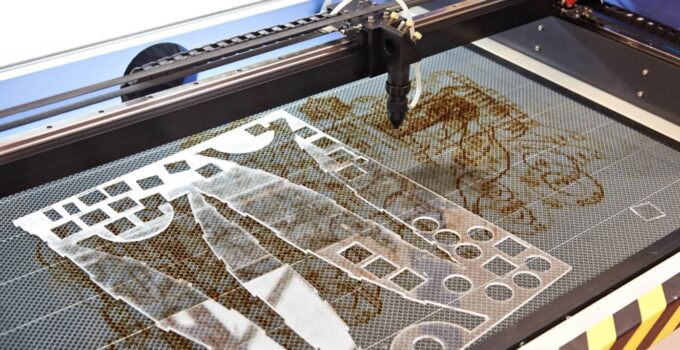
The first step in achieving clean cuts and engraving on acrylic is to choose the right tool for the job. For cutting it, a table saw or circular saw with a fine-toothed blade can be effective. However, for intricate cuts and delicate designs, a laser cutter is the best option. Laser cutting is a precise and efficient method for cutting acrylic, as it can cut through the material with a high degree of accuracy and minimal heat distortion.
2. Prepare the material
Before cutting or engraving acrylic, it is essential to prepare the material properly. Start by cleaning the surface of it with mild soap and water, and then dry it thoroughly with a clean cloth. Avoid using harsh chemicals or abrasive materials, as they can scratch or damage its surface.
If you are using a laser cutter, it is also essential to remove any protective film or paper from the surface of the acrylic. This film can interfere with the laser-cutting process and cause uneven cuts or discoloration.
3. Adjust the settings
When using a laser cutter, it is crucial to adjust the settings properly for the best results. The power, speed, and frequency of the laser can all affect the quality of the cut or engraving. Be sure to consult the manufacturer’s guidelines or seek advice from a professional if you are unsure about the optimal settings for your particular project.
4. Use the right technique
When laser engraving or cutting acrylic, it is essential to use the right technique for the best results. For cutting, move the blade or laser at a steady pace and avoid stopping or hesitating, as this can cause it to melt or warp. For engraving, use a slow and steady motion, and adjust the depth and intensity of the engraving as needed to achieve the desired effect.
5. Support the material
When cutting or engraving acrylic, it is essential to support the material properly to prevent it from cracking or breaking. For cutting, use a clamp or hold-down to secure it firmly in place on the cutting surface. For engraving, use a jig or template to ensure that it is held securely and that the design is aligned correctly.
6. Clean up the edges

Source: youtube.com
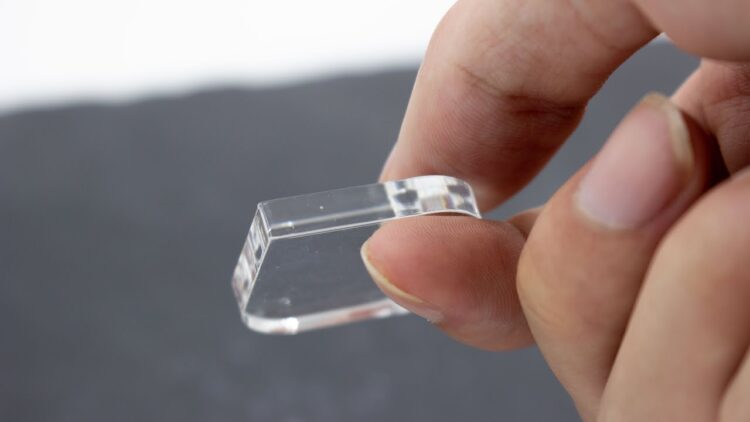
After cutting or engraving acrylic, it is essential to clean up the edges for a professional-looking finish. Use fine-grit sandpaper or a deburring tool to remove any rough edges or burrs. Be sure to work carefully and avoid applying too much pressure, as this can cause it to crack or chip.
7. Protect the surface
Finally, it is essential to protect the surface of the acrylic from scratches, scuffs, and other damage. Apply a protective coating, such as a clear acrylic sealer or wax, to its surface to help prevent scratches and discoloration. Be sure to follow the manufacturer’s instructions carefully and apply the coating evenly for the best results.
Conclusion
In conclusion, achieving perfectly clean cuts and engraving on acrylic requires the right tools, techniques, and attention to detail. Whether you are working with a table saw, circular saw, or laser cutter, be sure to prepare the material properly, adjust the settings carefully, and use the right technique for the job. With these tips and techniques, you can achieve stunning results with it, whether you are creating custom signage, jewelry, or industrial parts. Don’t be afraid to experiment and try new techniques to push the boundaries of what is possible with acrylic. With patience and practice, you can master the art of cutting and engraving acrylic and create beautiful, high-quality projects that will last for years to come.


